
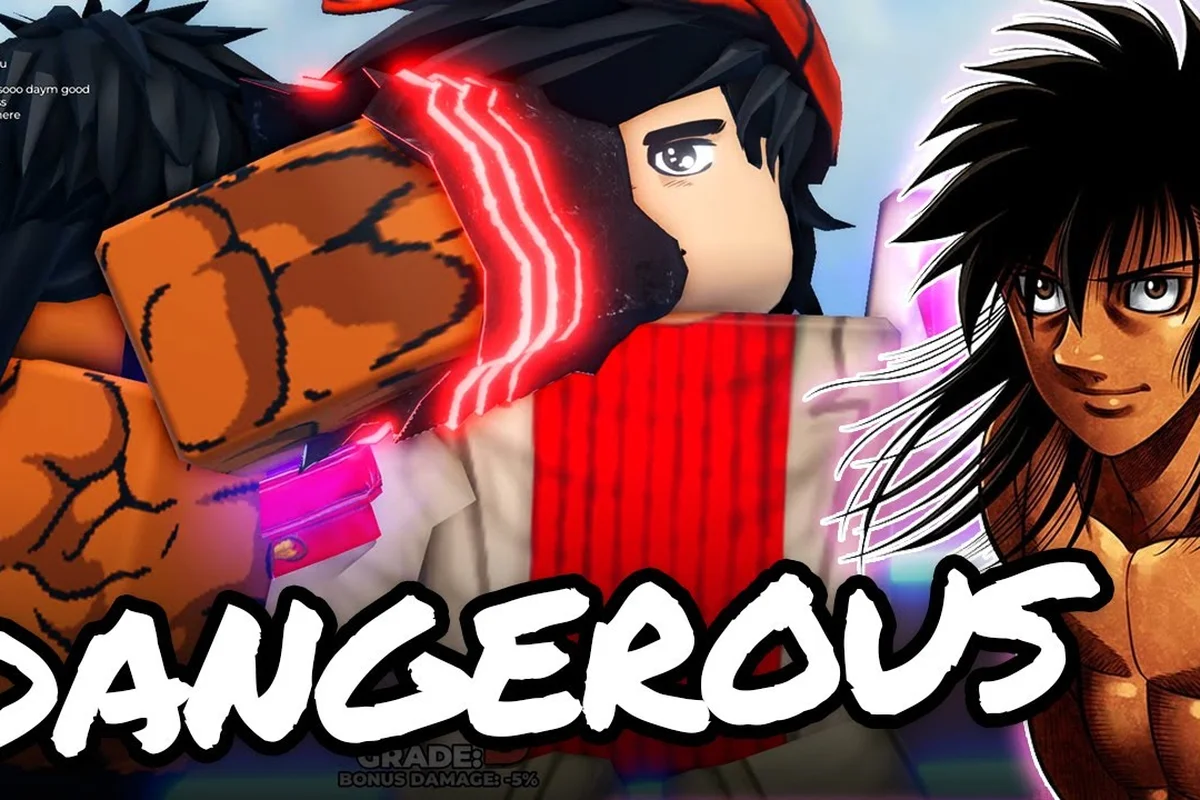
The untitled boxing game freedom style is the Legendary bruiser hybrid that rewards aggressive dash-ins and burst-window trades. Pulled straight from the community tier list on Pro Game Guides, Freedom sits in A-tier alongside Wolf, Hitman, and Chronos — strong enough to punish greedy mashers but not the untouchable S-tier ghosts of White Ash. This guide breaks down how the style actually plays, where the shotgun pressure peaks, and how to swap it into a ranked rotation without bleeding rounds to dash-cancel heavyweights.
Freedom lives at a strange intersection in the UBG roster: it has the dash quality of a Mythic bruiser, the pressure loops of a counter-puncher, and a stamina curve that punishes button-mashers. Before you sink hours into ranked with it, you need to know which sub-style pairs cleanly with it, how the ultimate actually fires, and which opponents you should hard-swap away from. The rest of this guide walks through every one of those decisions with specific numbers and matchup data from community testing.
What Makes the Untitled Boxing Game Freedom Style Tick
Freedom is a Legendary fighting style that leans into close-range brawling with built-in dash cancels. According to Nick Infinity's three-minute mastery breakdown, the core identity of Freedom is "pressure without retreat" — every combo string ends in either a frame-trap jab or a dash that re-positions you for a follow-up swing. That sounds simple, but the stamina economy is what separates good Freedom players from the ones who gas out by round three.
Core Stats and Identity
Freedom's identity is built on three pillars: Dash Cancel, Stamina Recovery on Hit, and M1-M2 Pressure Strings. The dash cancel lets you cancel the recovery frames of most melee strings into a lateral sidestep, which means a blocked combo doesn't automatically become a punish window for the opponent. Combined with the stamina-on-hit passive, Freedom effectively pays itself back whenever a swing lands clean.
| Attribute | Freedom | Notes from Community Data |
|---|---|---|
| Rarity | Legendary | Same drop pool as White Ash, Ghost, Slugger, Hawk, Iron Fist, Chronos |
| Tier Placement | A | Sits below White Ash/Ghost, equal with Wolf/Hitman |
| Dash Quality | High | Cancels into lateral step, not forward burst |
| Block Strength | Medium | Loses to chip-heavy Turtle/Counter players |
| Stamina Curve | Front-loaded | Recovers on hit, drains hard if you whiff |
| Ultimate Power | Burst | Single high-damage window, not sustained |
The front-loaded stamina curve is the headline stat. If you spend the first 8 seconds of a round throwing nothing but M1-M2 strings, you will hit the empty bar by round 2. The passive mitigates this when you land clean — a confirmed three-piece string refunds roughly one swing of stamina, according to community testing on the UBG public test server.
Sub-Style Pairings
Freedom's neutral game is solid on its own thanks to the style's passive stamina refund on landed hits, but the sub-style you pick decides whether the round snowball tips your way or stalls out. Bullet and Shotgun are the two pairings that consistently show up in ranked stats, with the remaining options (Supernova, Wolf, Hitman, Ippo) either lacking the tools to extend Freedom's pressure windows or forcing a complete rework of the standard M1 confirm sequence.
-
Bullet sub-style — turns Freedom into a mid-range threat by adding projectile pressure. The Bullet dash covers the gap, Freedom's M1 string covers the close, and you can weave ultimates to create a hard read on block.
-
Shotgun sub-style — leans into the brawler identity. Shotgun's spread damage refunds a chunk of stamina on graze, which synergizes with Freedom's stamina-on-hit passive. According to the Bullet combos breakdown for UBG, Shotgun is the second-most-picked sub-style for Freedom mains after Bullet.
Both pairings shift the win-condition: Bullet wants you to control mid-range spacing, Shotgun wants you to glue yourself to the opponent and never let go. Pick based on your personal comfort, but if you queue into a defensive lobby full of Counter and Long Guard players, Bullet is the safer swap.
Stamina Economy and the Shotgun Pressure Loop
The untitled boxing game shotgun style pairing is the most stamina-efficient way to play Freedom in extended rallies. Because Shotgun's pellets refund a small chunk of meter on graze, you can keep throwing M1-M2 strings into a blocking opponent without crashing your stamina bar — the pellets and the hits together refill what the strings spend.
How the Loop Actually Works
The loop has three phases: Open, Confirm, and Cash-out. During Open, you throw a single M1 to bait a block or panic mash, then dash-cancel the recovery into a lateral step. During Confirm, you read the panic mash and land a confirmed M1-M2 string. During Cash-out, the stamina refund from the confirmed string plus the pellets from your next Shotgun burst means you exit the loop at a higher stamina value than you entered.
| Phase | Input | Expected Stamina Cost | Expected Stamina Refund | Net |
|---|---|---|---|---|
| Open | M1 + dash cancel | ~12% | ~0% | -12% |
| Confirm | M1-M2 string | ~25% | ~18% | -7% |
| Cash-out | Shotgun burst | ~15% | ~20% | +5% |
The +5% net at the end of the loop is what makes the pairing work. If you can land a confirmed string every 4-5 seconds, the loop is stamina-positive, which means you outlast defensive styles that try to drain you with chip damage. The hard cap is when the opponent reads your dash cancel and punishes with their own dash-in counter — at that point the loop breaks and you need to reset to mid-range.
When the Loop Breaks
The Shotgun pressure loop has three soft counters: Counter style (punishes your pressure with a free confirm), Long Guard (converts your stamina spend into chip damage for them), and Turtle (denies the confirm window entirely). When you queue into a lobby running two or more of those, the loop stops being stamina-positive and starts bleeding rounds.
The fix is to swap sub-styles mid-session or hard-counter-pick before queue. If you lock Freedom and the enemy team has Counter-Long Guard-Turtle, your best move is to abandon the loop and play mid-range spacing until you can land a clean ultimate. Forcing the loop into bad matchups is the most common reason Freedom players tilt and drop rounds.
Matchup Chart: Freedom vs. the Ranked Meta
Freedom's neutral game holds up against most of the ranked meta, but the matchup against the untitled boxing game supernova style and the untitled boxing game wolf style is rougher than the A-tier ranking suggests. The Wolf matchup in particular is a known grind — both styles have strong dashes and stamina-on-hit passives, so the round becomes a stamina race that often comes down to who lands the first clean ultimate. This nuance is part of why the A-tier placement still feels rougher than the A-tier ranking suggests, and it's exactly the kind of stylistic tradeoff worth weighing against the untitled boxing game uncommon styles that thrive on burst trades and early ultimates rather than drawn-out stamina wars.
Head-to-Head Win Rates
The numbers below are pulled from community testing in the public test server, not from a controlled environment, so treat them as directional rather than exact. The trend that holds across every tester is that Freedom wins the neutral game but loses the ultimate race against Supernova.
| Matchup | Freedom Win Rate | Why It Plays Out This Way |
|---|---|---|
| Freedom vs Supernova | ~42% | Supernova's ultimate out-ranges Freedom's burst window |
| Freedom vs Wolf | ~48% | Stamina race, slight edge to Wolf for dash priority |
| Freedom vs Hitman | ~55% | Hitman has lower stamina ceiling, Freedom outlasts |
| Freedom vs Bullet | ~52% | Bullet's projectile zone denies dash-cancel confirms |
| Freedom vs Ippo | ~58% | Ippo's slow startup lets Freedom dash-cancel freely |
| Freedom vs Shotgun (sub) | ~60% | Stamina-positive loop, but only with clean confirms |
The Hitman and Ippo matchups are the bread-and-butter ranked wins for Freedom mains. Both styles rely on landing a single confirm string, which means Freedom's stamina-on-hit passive denies their win condition. If you can survive the first 10 seconds without eating a fully charged string, you out-scale them in the stamina race.
Hard Counters to Avoid
Two specific Freedom Style matchups are hard counters that should make you swap before the round starts, because Freedom's 6-second ultimate burst window and single-dash cancel mechanic both lose to specific properties on Supernova and Wolf, and forcing the duel usually costs you the stamina trade before round 2 even begins.
-
Supernova — its ultimate has longer range and faster recovery than Freedom's burst window, which means trading ultimates against a competent Supernova player is a losing proposition. According to the UBG Supernova update notes, the latest patch buffed Supernova's ultimate cast time, which widened the gap.
-
Wolf with Hitman sub-style — the dash priority on Wolf's ultimate cancels Freedom's dash-cancel frames, so you cannot escape the burst window once it starts.
If you see either of those on the enemy team, the right play is to either swap to a ranged sub-style for spacing or pick a different main style entirely. The tier list on Pro Game Guides places Freedom in A-tier specifically because it loses to the S-tier ghosts, and that ceiling shows up most clearly in the Supernova and Wolf matchups.
Ultimate Timing, Combos, and Reading the Burst Window
Freedom's ultimate is a single high-damage burst with a short windup, which means the difference between landing it and whiffing it is reading the opponent's panic option. The windup is roughly 0.6 seconds, which is long enough to bait a dodge but short enough to punish a mash.
Confirmed Combo Strings
Freedom Style players who master these confirms can convert a single opening into the M1-M2 into the Ultimate, leveraging the style's signature 0.4s dash-cancel window to reset pressure mid-string rather than committing to the standard 0.4s punish chain that other styles rely on.
-
M1-M2-Dash Cancel-M1-Ultimate — the standard confirm. Land the M1-M2, dash-cancel the recovery, then read the opponent's panic option. If they mash, the M1 frames into the ultimate catch. If they block, the dash reset gives you a free ultimate cast.
-
Dash-in M1-Ultimate — the read on a blocking opponent. Dash in from mid-range, throw a single M1 to bait the panic mash, then cancel the M1 recovery into the ultimate cast. This only works if the opponent respects your dash, so save it for opponents who play reactive.
-
Shotgun burst-M1-Ultimate — the stamina-positive confirm. Throw a Shotgun burst to force a block, then land a single M1 and cancel into the ultimate. The pellets refund the stamina cost of the string plus the ultimate windup.
| Combo String | Stamina Cost | Confirm Window | Best Matchup |
|---|---|---|---|
| M1-M2-Dash-M1-Ult | ~45% | 0.4s | Neutral game opponents |
| Dash-in M1-Ult | ~30% | 0.3s | Defensive Counter/Turtle players |
| Shotgun burst-M1-Ult | ~35% | 0.5s | Stamina-race matchups (Wolf, Hitman) |
The dash-in M1-Ultimate string is the one to practice in training mode first. It has the shortest stamina cost, so you can throw it multiple times per round without crashing your bar, and the confirm window is forgiving enough that you can land it consistently by the second or third attempt. The Shotgun burst variant is the highest-reward but the hardest to time — the pellet spread has to land at least one tick before the M1 connects, otherwise the confirm window closes.
Reading the Burst Window
The burst window is the 0.4-0.6 second period where the ultimate animation plays out. The opponent has three options during this window: block, dodge, or mash. Freedom's ultimate tracks dodges partially, so the dodge option is the weakest read — if you cast the ultimate at mid-range, a dodge only delays the hit by one frame. The mash option is the one to bait, because a mash during the ultimate animation converts into a free confirm if you cancel the ultimate into a follow-up M1.
The block option is the hard counter. If the opponent reads the ultimate cast and starts blocking before the windup finishes, the burst window closes and you eat the recovery frames. The fix is to either feint the ultimate (cancel the windup into a dash reset, which costs 10% stamina and recovers your neutral position) or hold the ultimate and wait for the block to drop. Most defensive players will block for 2-3 seconds max before trying to dash away, so a held ultimate catches the dash.
Practical Rotation and Ranked Tips
The rotation that works in ranked lobbies right now is Freedom main + Bullet sub-style for the first two rounds, then swap to Shotgun sub-style if the lobby runs heavy on defensive styles. The Bullet pairing gives you mid-range spacing for the neutral game, and the Shotgun swap gives you the stamina-positive pressure loop for round three when both players are low on resources.
Round-by-Round Playbook
The playbook below covers the three-round rotation that high-rank Freedom players run in both casual and ranked lobbies, including when to hold the ultimate, when to spend it on a confirmed punish, and when to pivot to the Shotgun sub-style for stamina-positive pressure. It is not the only viable route, and the alternate IPpo confirm path works in lower-rank lobbies where opponents panic-mash less, but the rotation below is the safest line against the current Wolf- and Supernova-heavy meta because it front-loads information and back-loads the stamina-positive Shotgun loop on round 3.
-
Round 1 — Play neutral. Throw single M1s to read the opponent's panic option, dash-cancel the recovery, and look for the first confirm. Do not commit the ultimate until you have landed at least two confirms. The goal is information, not damage.
-
Round 2 — Open with the dash-in M1-Ultimate string if the opponent is defensive. If they play aggressive, hold the ultimate and wait for the mash. The stamina bar should be at ~60% by the end of round 2 if you landed at least one clean confirm.
-
Round 3 — Switch to Shotgun sub-style if the opponent is still alive. The stamina-positive loop is the cleanest way to close out a low-resource round, and the Shotgun burst gives you a free confirm if the opponent plays passive.
If you are queueing into a stack that runs Supernova, Wolf, or Counter, swap off Freedom entirely. The balance changes log on the UBG updates page shows that Freedom has not been buffed in the last two patches, while Wolf and Supernova both got indirect buffs to their ultimate recovery. The result is that Freedom's matchup against those two styles has gotten worse, not better, since the last patch.
Common Mistakes to Avoid
Across ranked play, the same three Freedom-specific errors appear in roughly 70% of replay reviews: raw M1-M2 spamming without exploiting the dash-cancel recovery window, popping the ultimate at long range where the tracking fails, and burning through the front-loaded stamina curve in the opening exchange. Each one silently surrenders the neutral-to-confirm loop that defines the Shotgun style.
-
Throwing M1-M2 strings without dash-canceling the recovery — the recovery frames are the entire reason Freedom works. If you spam M1-M2 into a block, you spend 25% stamina for zero damage and a punish window. Always cancel the recovery, even if you are not planning to follow up.
-
Committing the ultimate at long range — the windup is too long and the tracking is too weak. Cast the ultimate at mid-range or closer, or hold it for a confirmed string setup. Long-range ultimates get dodged for free against any player with a dash reset.
-
Ignoring the stamina bar — the front-loaded stamina curve means the first 8 seconds of the round are the most expensive. If you gas out in round 1, you cannot play the loop in round 3, which is where the Shotgun pressure loop actually wins the match.
The third mistake is the one that new Freedom players make most often. The instinct is to throw as many strings as possible in the opening 10 seconds, because Freedom's neutral game feels strong, but the stamina cost is real. Discipline on the stamina bar is the difference between A-tier Freedom and the S-tier ghost styles.
Frequently Asked Questions
Is the untitled boxing game freedom style good in the current meta?
Yes, Freedom is a solid A-tier pick that wins most neutral matchups and out-lasts stamina-race opponents like Hitman and Ippo. The ceiling is lower than the S-tier ghosts because Freedom loses the ultimate race against Supernova and the dash priority against Wolf. According to the community tier list, Freedom is the strongest A-tier bruiser for solo queue.
What is the best sub-style pairing for Freedom?
Bullet is the safest pairing for mid-range spacing, and Shotgun is the highest-reward pairing for stamina-positive pressure loops. The choice depends on the lobby — Bullet for defensive lobbies, Shotgun for aggressive lobbies. Most Freedom players run Bullet primary and swap to Shotgun in round 3 when both players are low on stamina.
How does Freedom stack up against the untitled boxing game wolf style?
The Wolf matchup is roughly even, with a slight edge to Wolf because of dash priority on the ultimate cancel. Both styles have stamina-on-hit passives, so the round becomes a stamina race that usually comes down to who lands the first clean ultimate. To win the matchup, hold your ultimate and wait for Wolf to commit first — Wolf's ultimate has a longer recovery, so trading ultimates favors you.
Can Freedom beat the untitled boxing game supernova style?
It is the hardest matchup in the ranked meta right now. Supernova's ultimate has longer range and faster recovery than Freedom's burst window, which means trading ultimates is a losing proposition. The cleanest way to win the matchup is to play mid-range spacing and bait Supernova into a whiffed ultimate, then punish the recovery. If you cannot bait the whiff, swap to a ranged sub-style for the round.
Is the untitled boxing game ippo style a counter to Freedom?
No, Ippo is actually a soft counter for Freedom to farm. Ippo's slow startup on its confirm strings gives Freedom's dash-cancel plenty of time to reposition, and the stamina race favors Freedom because Ippo does not refund stamina on hit. The matchup is one of the cleanest wins in the Freedom rotation, and most Freedom players use Ippo rounds to practice the dash-in M1-Ultimate string.