
Mechanics
The UBG combat systems that decide fights: stamina and stamina break, M1 versus M2 damage, the three health colours, perfect dodges, counters and feint timing.
Introduction
Combat mechanics are what make Untitled Boxing Game a fighting game rather than a stat check, and they are the reason a Rare style can beat a Legendary in the hands of the right player. The system rests on a handful of interlocking rules: stamina drains from everything except blocking and breaks you for roughly two seconds when you attack on an empty bar; light punches deal regenerable damage while heavy punches clear the opponent's regenerable pool; dodging carries invincibility frames and hitting the tight window produces a perfect dodge; counters and dual counters reward reading a punch before it lands; and feinting cancels a heavy into a mix-up. Health is drawn in three colours that tell you instantly how much of your damage will stick. This section works through each of those systems and the timing that makes them matter.
Core UBG Combat Systems
| Mechanic | What It Does | Input | Why It Matters |
|---|---|---|---|
| Stamina | Drains on every action except blocking and breaks you for about two seconds at zero | Passive bar | Attacking from an empty bar is the most common cause of early knockouts |
| Light punch | Fast, easy to land, and applies regenerable damage that can be healed back | M1 | The safe chip tool that sets up everything else |
| Heavy punch | Slower, and clears the opponent's regenerable damage pool | M2 | Converts chip damage into progress, but a whiff is heavily punished |
| Block | Reduces incoming damage and is the only action that does not drain stamina | Block key | Holding block with an empty bar still loses you the exchange |
| Dodge and perfect dodge | Grants invincibility frames, with a tight window that counts as a perfect dodge | Dash key | The single highest-value skill in the game and the core of high-level play |
| Counter | Punishes an opponent whose punch is still travelling, and several styles charge meters from it | Timed attack | Rewards reading a punch instead of reacting to it |
| Feint | Cancels a heavy punch into a mix-up by pressing both attack inputs | M2 then M1 | Beats opponents who dodge on pattern rather than reaction |
| Backdash degradation | Repeated retreats become less effective over the course of a fight | Dash key | Stops passive players from simply running the clock out |
Mechanic Deep Dive
Three Health Colours
Reading the bar tells you what your damage did
Stamina and Stamina Break
The resource that decides exchanges
Perfect Dodge Windows
Turning defence into offence
Counters and Dual Counters
Rewarding the read, not the reaction
Light Punch
The safe chip tool — M1
Heavy Punch
The converter — M2
Block
The only free action
Feint and Backdash
The mix-up layer
Core Mechanics
Everything in a UBG fight resolves through a small number of timers. The stamina bar is the outer loop, because it gates how many actions you can take and punishes overcommitment with a two-second break. Inside that sits the punch layer, where light punches build regenerable damage and heavy punches convert it into permanent damage that will not heal within the round. That conversion is what makes the three health colours meaningful rather than decorative: a bar that is mostly dark red means your opponent has not committed to heavy punches, while a transparent bar means the round is genuinely slipping away. On top of both sits the timing layer, where dodging carries invincibility frames, the tightest portion of the dodge counts as a perfect dodge, counters reward striking into a travelling punch, and feints beat opponents who dodge on pattern rather than reaction. Finally, backdash degradation stops the retreat loop from being a viable stall, which forces engagement and keeps rounds from timing out.
Advantages
The best thing about UBG mechanics is that they are learnable rather than purchasable. Because every style uses the same six inputs and the same stamina model, mechanical skill transfers between styles and survives patch changes, which means time spent drilling dodge timing is never invalidated by a balance update. The three-colour health system also gives unusually clear feedback: you can see whether your pressure is converting into permanent damage or being healed away, which makes reviewing a loss straightforward rather than mysterious. Counter and dual counter systems reward attention over reflexes, so a player who reads patterns can beat someone with faster hands. Feinting adds a mind-game layer that keeps high-level matches from becoming repetitive, and backdash degradation closes the one loophole that would otherwise let a patient player avoid every engagement until the clock ran out. Together these systems make the game feel deep without becoming opaque.
Challenges
The mechanical layer is unforgiving in ways that punish new players disproportionately. The stamina break lasts about two seconds, which is longer than most full combinations in the game, so a single over-committed attack can decide a round outright. Perfect dodge windows are tight enough that connection quality becomes a factor, and a player on high latency will lose dodges that look clean on their own screen, which makes the highest-value skill in the game partly a network lottery. Several mechanics are also undocumented officially, so values like the exact invincibility duration or the precise backdash degradation curve come from community testing rather than frame data, and they drift between patches without notice. Counters reward reads, which means the mechanic that separates good players from average ones is also the one that is hardest to practise deliberately without a partner of similar skill.
Frequently Asked Questions
What is the fastest way to stop dying to the stamina break?+
How do I practise perfect dodging without losing rating?+
Why does my damage seem to heal back?+
Quick Tips
Watch the shoulder, not the glove. Every punch animation telegraphs at the shoulder before the arm extends, and a player who reads the wind-up can dodge on reaction rather than guessing, which is the difference between a normal dodge and a perfect one. The wind-up looks broadly the same across almost every style, so the read transfers the moment you switch your loadout.
Keep a quarter of your stamina bar in reserve at all times. The break that follows an attack on an empty bar lasts around two seconds, which is longer than most combos, so preserving that reserve costs you very little pressure and protects you from the single most punishing mistake in the game.
Convert chip damage with heavy punches before the opponent can disengage. Light punches only build regenerable damage that the health bar will heal back, so pressure that never converts looks impressive and achieves nothing measurable by the end of the round. Heavy punches are what convert that chip damage into health that will not come back before the final bell.
Featured
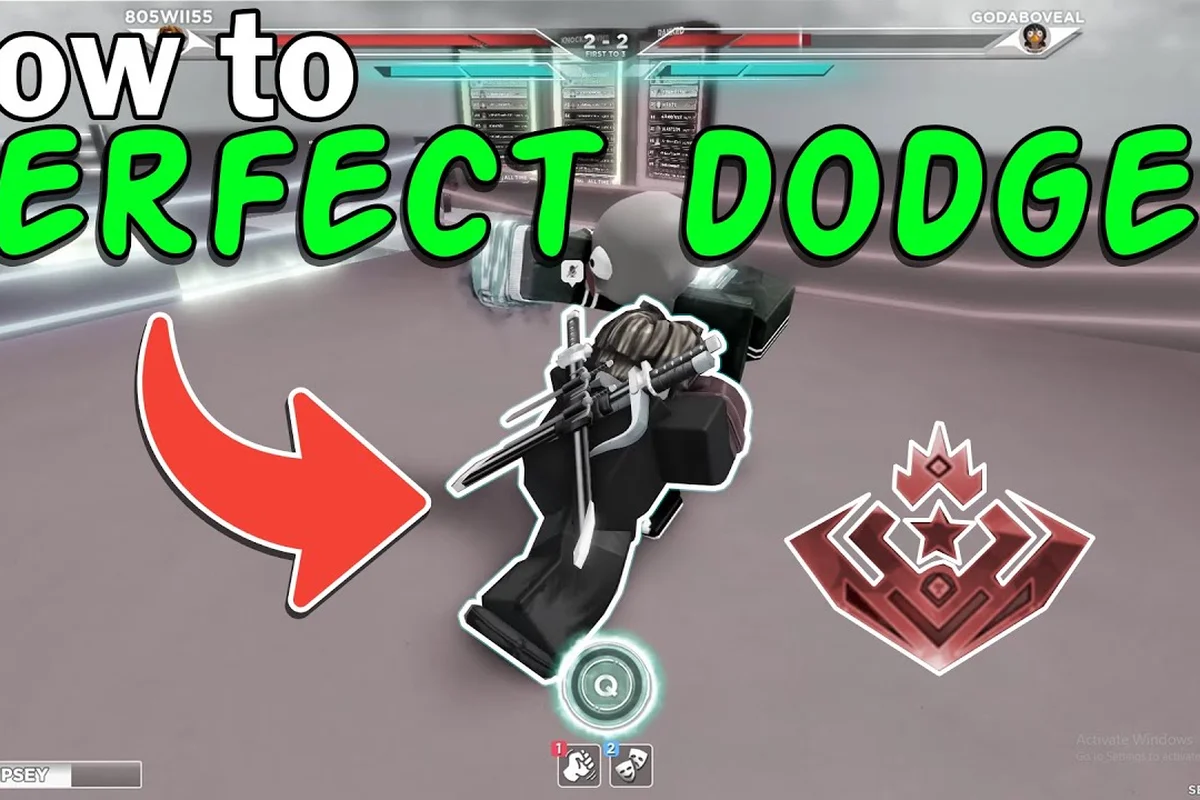
Untitled Boxing Game M1 & M2: Combos, Blocking & Dodge Timing
Master untitled boxing game m1 and m2 basics, chain light attacks into M2 finishers, time your blocks, backdashes, and counters to stay safe in every exchange.
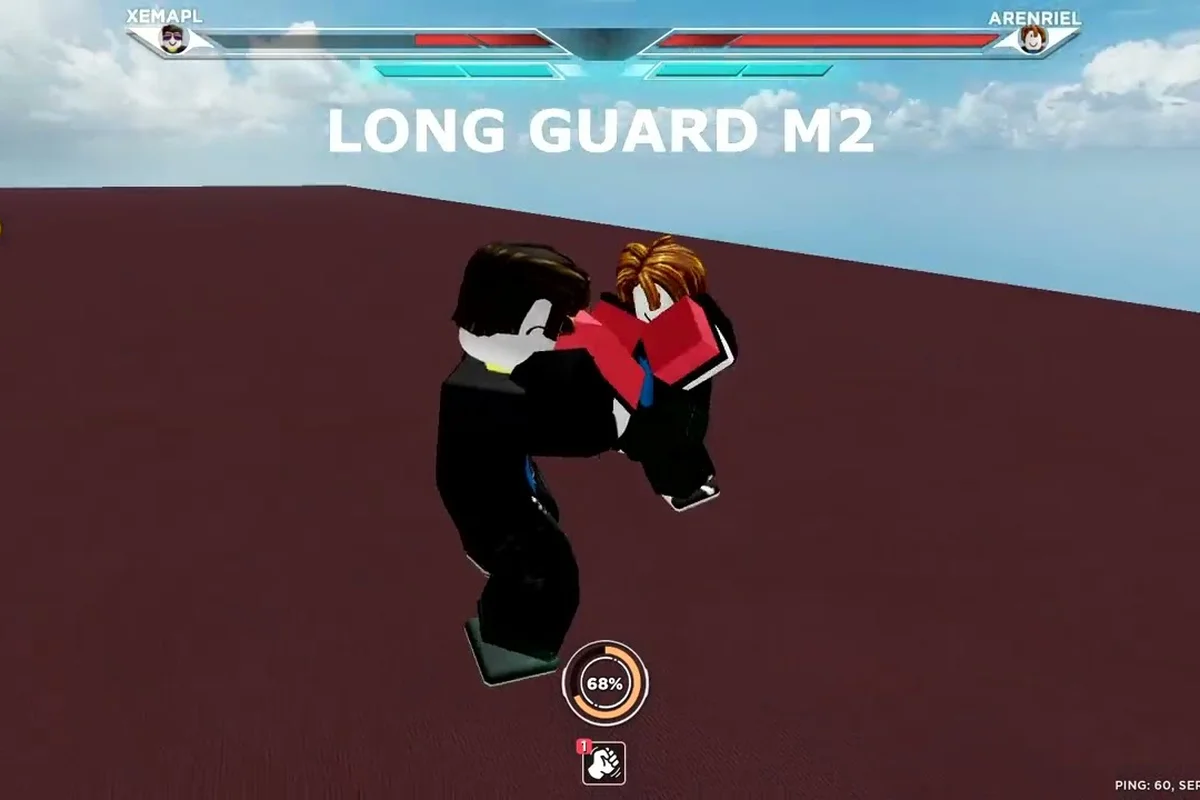
Untitled Boxing Game Backdash Degradation: I-Frames & Counters
Track backdash degradation in Untitled Boxing Game, learn when invincibility frames drop, and set up counters and ultimates mid-fight for clutch finishes.
Untitled Boxing Game Feint: Cancels, Knockdowns & Ultimates
Use every untitled boxing game feint to bait opponents, cancel recoveries, set up knockdowns, and build ultimate meter before your rival can react.
All Articles
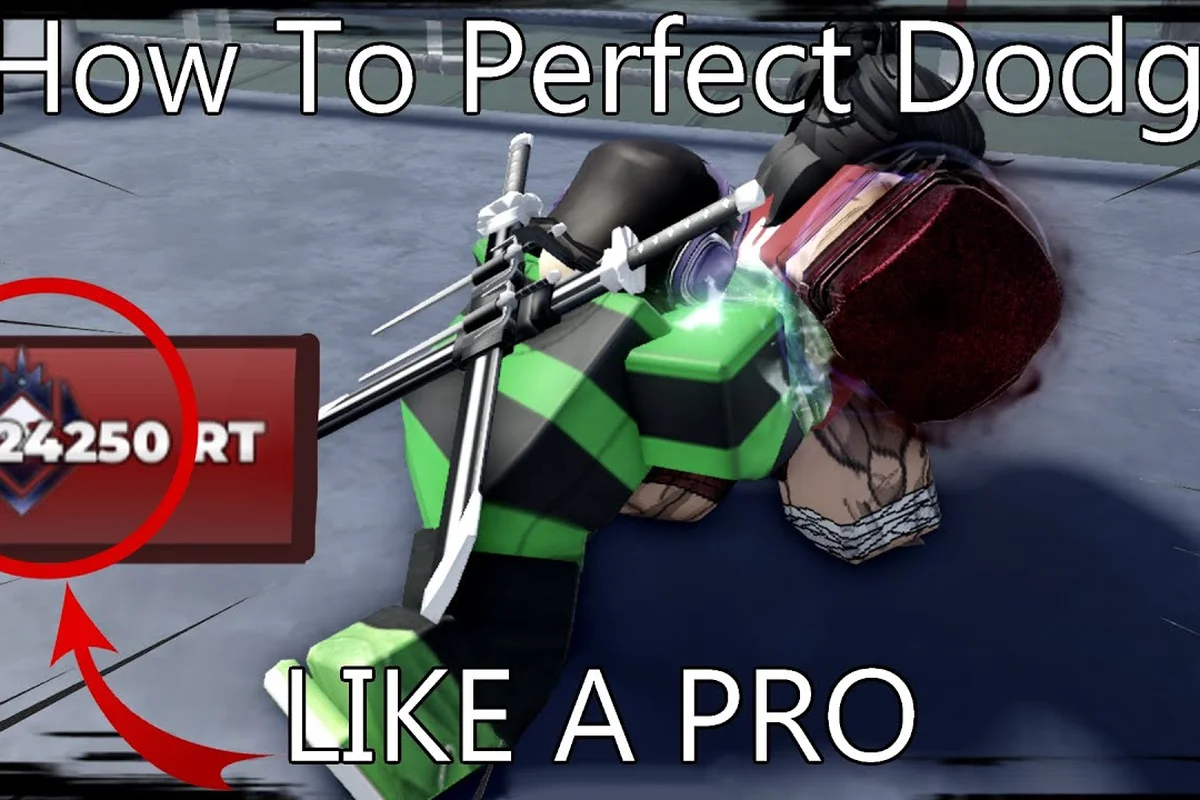
Untitled Boxing Game Health Bar: Regen vs Permanent Damage
Master how the Untitled Boxing Game health bar works, what makes damage permanent versus regenerable, and how the focus meter rewards keep you alive in long rounds.
Untitled Boxing Game Stamina Break: Punish Timing
Master Untitled Boxing Game stamina break by chaining heavy and light punches, timing perfect dodges, and forcing guard breaks that open up punishing combos.
Untitled Boxing Game Bleed: Hitboxes, Latency & Best PC Settings
Stop untitled boxing game bleed from ruining trades by tuning hitboxes, fixing latency hiccups, and remapping PC controls and keybinds for cleaner hits.
Untitled Boxing Game Slow Debuff: Triggers, Hit Reg & Fixes
Pin down what causes the untitled boxing game slow debuff, how hit registration triggers it, and how to keep your movement crisp in every ranked match.