
Untitled boxing game m1 and m2 form the foundation of every fight you'll ever take in the ring, and learning how they interact with blocking, dodging, backdashing, and countering is what separates a sloppy brawler from a ranked grinder. The M1 input is your fast jab, while the M2 is the slower, harder follow-up that cracks guard and burns through regenerable health, and mastering the rhythm between them is the single biggest upgrade you can make in your first fifty matches.
Untitled Boxing Game M1 Basics: The Fast Jab You Live and Die By
The M1 button — bound to left-click on mouse, the right trigger on controller — is your fastest attack in untitled boxing game, and it does three jobs at once. It builds your ultimate meter faster than M2 because you land more hits per second. It applies regenerable damage that fades back into the opponent's health bar if you don't follow up. It also keeps your opponent in blockstun, which is how you set up the rest of your kit. If you only learn one input tonight, it should be M1.
Most new players throw one M1, panic, and then back away. That habit throws away your pressure for free. According to community testing on the Slugger style, a four-tap M1 string — tap, tap, tap, tap — drains about a third of an opponent's stamina and forces them into a defensive shell for roughly half a second, which is more than enough time to walk them into a corner or bait a panic dodge. The animation is short, the recovery is short, and the stamina cost is the lowest in the game, which is why almost every style in the roster uses M1 as the backbone of its combos.
| M1 Attribute | Value / Behavior | Why It Matters |
|---|---|---|
| Speed | Fastest attack in the game | Wins neutral trades and punishes whiffed heavies |
| Damage Type | Regenerable (red) | Without a follow-up, the damage ticks back over time |
| Stamina Drain on Hit | Low per hit, high per string | Chip damage pressure without overcommitting stamina |
| Ultimate Meter | High charge per hit | Pumping your ult faster than the opponent |
| Stun on Block | Yes (short) | Lets you chain into M2 or walk forward safely |
| Cancel Options | Into M2, into Dodge, into Backdash | M1 is the universal setup tool |
Because M1 applies regenerable damage, the worst thing you can do is throw three M1s and then stop. Your opponent's health refills in roughly 3-4 seconds if you let them breathe, which is why every M1 string should end with either a M2 finisher, a dodge to read a panic whiff, or a backdash to reset the spacing. If you want a deeper look at how M1 chains into more advanced combo routes, the Slugger one-shot combo breakdown from RKER shows how light attack strings build into guard breaks in real matches.
How M1 Generates Pressure and Why It Wins Trades
The reason M1 wins most trades is the frame data behind it. The startup is so short that by the time your opponent's heavy punch has finished its wind-up, you've already landed two M1s and dodged away. A common mistake beginners make is trying to out-M2 an opponent's M1 — a losing trade 90% of the time, because your slower attack will whiff into their faster one. Instead, hold the M1 button down (or spam-tap), let the chain ride out, and only commit to M2 once you see them start to backdash or throw a heavy.
Untitled Boxing Game M2: The Guard Breaker That Closes Rounds
If M1 is the conversation, M2 is the punchline. The M2 input — right-click on mouse, left trigger on controller — is your heavy attack, and it does the opposite of M1 in almost every category. It's slower, hits harder, costs more stamina, and crucially, it converts the regenerable damage from your M1s into permanent damage that will not tick back. That is the entire point of an M1-into-M2 string: you set the opponent on fire with light hits, then you stamp the fire out with a heavy finisher so it can't recover.
The downside is that M2 is the single most punishable input in the game if you throw it raw. It has a long recovery animation, a visible wind-up that anyone with eyes can react to, and a stamina cost that leaves you gasping if it whiffs. Players report consistent behavior across the roster: throwing a raw M2 against a competent opponent will get you backdashed, perfect-dodged, or countered roughly 7-8 times out of 10. M2 is a punish tool, not a starter — you earn the right to throw it by either winning the M1 war first, or by reading your opponent's whiffed attack.
| M1 vs M2 Comparison | M1 (Light) | M2 (Heavy) |
|---|---|---|
| Startup | Fast (8-10 frames) | Slow (18-22 frames) |
| Damage Per Hit | Low | High |
| Damage Type | Regenerable | Permanent (also clears opponent's regen) |
| Stamina Cost | Very low | High |
| Block Stun | Short | Long |
| Punish on Whiff | Low risk | High risk (counter or backdash) |
| Best Use Case | Pressure, meter build, neutral | Punish whiffs, close rounds, convert regen |
The key mechanical insight is what M2 does to the opponent's health bar. When M2 lands, it doesn't just add its own damage — it also erases the dark red regenerable bar from previous M1 hits, locking that damage in. So the optimal M1 → M2 string is not about doing more damage with M2 alone, but about converting a sloppy stream of light hits into a clean, permanent chunk. This is why high-rank players will sometimes let a string of M1s ride out for a full second before committing to M2 — they're waiting for the regenerable bar to fill up so the M2 conversion is worth more.
M2 Timing Windows and When Not to Throw It
The three safest moments to throw M2 are: right after a confirmed M1 that stunned them, right after they whiff a heavy, and right as they finish a stamina break recovery animation. The three worst moments are: at round start when you have no data, while they're still holding block (M2 still hits but burns your stamina for chip), and while their backdash invincibility is active. If you want a visual reference for how these timing windows look in a real match, Floaty 2's 1-hour win challenge shows a dozen examples of patient M2 punishes in ranked lobbies.
Blocking, Backdash, and Dodge: The Defensive Triangle
Every M1 and M2 you've ever taken clean was because you were missing one of three tools: untitled boxing game blocking, untitled boxing game backdash, or untitled boxing game dodge. These three defensive options each have a job, and if you can read which one to use in which second, you'll start beating opponents who out-stat you.
When Blocking Actually Saves You
Blocking — bound to the spacebar on keyboard, the right bumper on controller — is your cheap, fast, low-risk option. It costs no stamina to raise, it costs stamina only when you absorb a hit, and it never whiffs. The problem is that block is not a reset; it's a delay. The longer you hold block, the more stamina you burn, and the closer you get to a stamina break that locks you out of every action for about two seconds. Use block to survive a string you didn't see coming, then drop it the moment you have an opening to backdash out.
A common beginner mistake is treating block like a wall you can stand behind forever. It isn't. Every M1 chip-drains a sliver of stamina, and the opponent knows it. After 4-5 M1s you are dangerously close to guard break, which is why the right play after a blocked string is almost always block → backdash, not block → hold. For a deeper walkthrough of how stamina management ties into block decisions, the stamina break mechanics guide covers the exact thresholds where holding block becomes a death sentence.
Backdash: The Spacing Reset That Beats M2
The backdash is the single most underused tool in untitled boxing game, and it's the answer to raw M2 spam. When you backdash, your character slides backward while still in blockstun for the first few frames, which means a thrown M2 will whiff entirely because you leave its range before the hitbox activates. The trick is that backdash also has a hidden property: if the opponent tries to chase with an M1 during your backdash, they often whiff because M1 has short range and your backdash carries you just out of it. Backdash is your answer to pressure that you don't want to fight, and it's also your answer to an M2 you saw coming.
| Defensive Option | Stamina Cost | Frames of Safety | Best Against | Risk |
|---|---|---|---|---|
| Block | Burns on hit, free to raise | Until stamina breaks | M1 pressure, M2 chip | Stamina break if held too long |
| Backdash | Very low | Short sliding window | Raw M2, M1 spam | Whiff punishable on read |
| Dodge (Neutral) | Medium | 0.2-0.3s i-frames | M1/M2 mixups | Punishable on late dodge |
| Dodge (Directional) | Medium | Longer, can cross-up | Pressure strings | Beaten by tracking attacks |
| Counter | High (recoverable) | Full parry window | Heavies and predictables | Whiff = free punish |
The reason backdash beats M2 is that M2 has a long startup and a moderate reach, while backdash has a moderate distance and a short recovery. The math works out: if you backdash the instant you see the M2 wind-up, you'll be out of range by the time the hitbox is active, and your opponent will be locked in recovery frames for nearly a full second. That second is your window to walk back in and start your own M1 string, which is the entire point of the backdash — it converts their overcommitment into your offense.
Dodge and Perfect Dodge: The I-Frame Trick
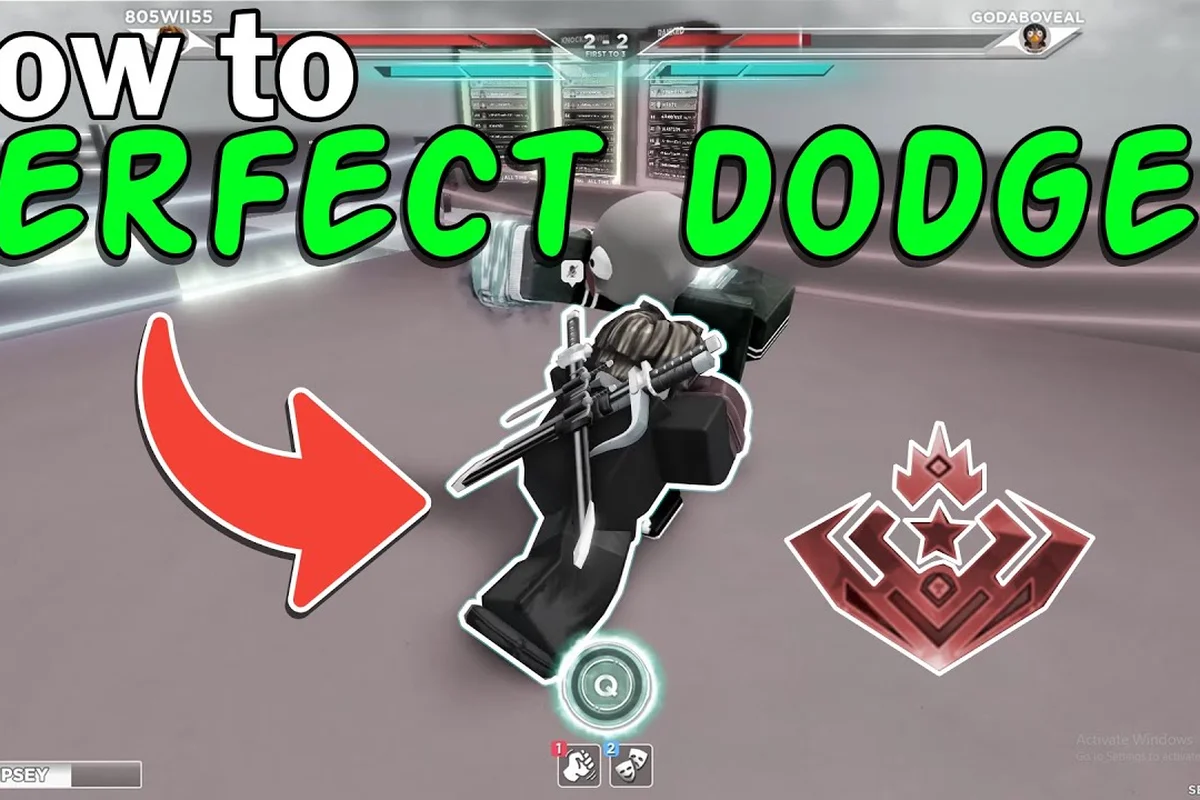
Untitled boxing game dodge works differently from backdash because it gives you invincibility frames (i-frames) during the roll, which means attacks pass through you without dealing damage. A normal dodge costs a medium amount of stamina and gives you roughly 0.2-0.3 seconds of i-frames, while a perfect dodge — timed within a narrow window before the hit lands — gives you extended i-frames and briefly slows the opponent, opening them up to a guaranteed punish combo.
The catch is that dodge is predictable in the same way M2 is predictable. If you dodge on a timer, your opponent will read it and either delay their M2 to catch your recovery or use a tracking attack that follows you through the roll. The dodge works best when you mix it with block and backdash so your opponent can't tell which defensive tool you're going to use. A common ranked pattern is block the first M1, dodge the second M1 (because they're committing to the string), and backdash the third M1 (because they're now panicking). The defensive triangle is exactly that — three tools rotating so the opponent can't pin you down.
For a walkthrough of how dodge timing connects to your first-day experience and quest progression, the what to do first guide shows the dodge windows you should drill in your first ten matches.
The Counter: Turning Their Offense Into Your Round
Untitle d boxing game counter is the most rewarding defensive tool in the game because it doesn't just save you — it punishes the attacker. When you input counter (default: F on keyboard, Y on controller) at the right moment, your character performs a parry that negates the incoming hit, stuns the opponent briefly, and leaves them wide open for a free M1 → M2 string. The counter has a short parry window and a long recovery, which is why throwing it randomly is suicide. But if you bait a panic M2 and counter it, you will get more damage back than they would have dealt.
The counter is the answer to the question "what do I do when I know they're going to throw a heavy?" It is not the answer to "what do I do when I'm getting rushed by M1s?" — against light pressure, you're better off blocking or backdashing because M1s are too fast to consistently counter. Save counter for the moments when you can read a commitment: an M2 you forced them into, a recovery from a stamina break, or a teleport/cross-up from a style like Trickster or Switch Hit.
Choosing Between a Counter and a Backdash
The simplest read is: counter if they're committing, backdash if they're fishing. If your opponent is throwing M1s at mid-range and waiting to see what you do, they're fishing for your panic option — backdash resets to neutral, and counter whiffs into their next M1. If your opponent has been holding block for two seconds and you just walked into their face with an M1, they're about to throw a counter-read M2 — that's the moment you backdash and let their heavy fly past you. The two tools are answers to different mental states, and reading which state your opponent is in is the actual skill behind defensive play.
| Defensive Read | Opponent's Tell | Your Response |
|---|---|---|
| Throwing raw M2 | Long wind-up, no setup | Backdash for spacing, then punish |
| M1 pressure at mid-range | Tap-tap-tap rhythm | Block, then dodge to break rhythm |
| Heavy after M1 string | Brief pause then commitment | Counter for free punish |
| Stamina-broken opponent | Locked in recovery | Walk in for free M1 → M2 |
| Retreat / reset | Distance opens up | Backdash to maintain spacing |
| Style swap or teleport | Animation change | Dodge to read cross-up |
This is also where the backdash and counter start to work together rather than as separate tools. A good player will backdash once, force the opponent to chase, then counter their commitment on the second swing. That single backdash → counter sequence is the cleanest two-button combo in the entire game, and it works in every fighting style because it relies only on the universal M1, M2, block, backdash, dodge, and counter inputs.
Chaining M1, M2 and Defense in Real Matches
The fastest way to internalize all six mechanics is to run the same five-second loop in every match until your hands do it without thinking. Step one: open with two M1s to test their range and reactions. Step two: if they block, chain a third M1 to drain their stamina. Step three: if they try to backdash, M2 to catch their retreat — this is the M1 → M2 punish window that most players miss. Step four: if they counter your M2, backdash to reset and repeat. Step five: if they M2 you, dodge the heavy and counter their recovery.
| Loop Step | Input | Purpose | What You Read |
|---|---|---|---|
| 1 | M1, M1 | Test range, find their block timing | Block stance or panic response |
| 2 | M1, M1, M1 | Drain stamina, fill regenerable bar | Stamina bar dropping, panic dodge |
| 3 | M2 | Convert regenerable to permanent | Whiffed dodge or backdash recovery |
| 4 | Backdash | Reset if M2 gets countered | Counter animation starting |
| 5 | Dodge → Counter | Punish their M2 whiff | Heavy wind-up, commitment |
The loop is intentionally short because every exchange in untitled boxing game lasts about 3-6 seconds before a knockdown, stamina break, or range reset. If you can run this five-step loop cleanly, you'll win trades against players who have better stats or rarer styles, because neutral play matters more than gear in the mid ranks. For a broader view of how this loop fits into a full match — including round structure, health bar states, and knockout conditions — the backdash degradation and counter systems deep dive covers the frame-by-frame side of the same defensive triangle.
Common Mistakes That Break the Loop
The first mistake is overcommitting to M1s. Five M1s in a row will drain your stamina and let the opponent backdash for free, which is the exact opposite of what you want. Cap your M1 strings at three or four hits, then commit to M2 or break off with a backdash. The second mistake is dodging into the opponent's M1 spam. Dodge costs more stamina than block and only gives you 0.2-0.3 seconds of safety, so dodging an M1 string just to "reset" puts you deeper in the stamina hole. The third mistake is throwing counter on reaction to M1. M1 is too fast to consistently counter, and every whiffed counter is a free M1 → M2 combo for the opponent.
How Style Choice Changes Your M1 and M2 Game
While M1, M2, block, backdash, dodge, and counter are universal, the style you equip changes how aggressively you should use them. Aggressive styles like Slugger and Hawk reward constant M1 pressure and M2 punishes, while control styles like Iron Fist and Chronos reward patient counter reads and backdash resets. Flexible styles like Freedom let you mix all six tools without committing to a single rhythm, which is why Freedom is the recommended starting style for new players who are still learning the loop.
If you want a specific example of how a style shifts your M1/M2 priorities, the Trickster style breakdown shows how a stance-switching playstyle turns the M1 → M2 string into a feint-heavy mind game rather than a simple damage combo. Different style, same universal inputs, totally different optimal play pattern. That's the depth of untitled boxing game at its core: six simple tools, dozens of ways to use them.
Frequently Asked Questions
What is the difference between M1 and M2 in untitled boxing game?
M1 is your fast light attack that deals regenerable damage (dark red bar) and builds your ultimate meter quickly, while M2 is your slower heavy attack that converts that regenerable damage into permanent damage. M1 wins neutral trades and applies pressure, while M2 punishes committed opponents and closes rounds. Always chain M1s into a single M2 finisher rather than throwing M2s raw.
How does blocking work in untitled boxing game and when should I stop holding it?
Blocking raises your guard and costs no stamina to hold, but every blocked M1 chip-drains a small amount of stamina, and every blocked M2 drains a large amount. After 4-5 M1s you are close to a stamina break that locks you out for about two seconds, so the rule is block only to survive a string you didn't see coming, then backdash or dodge out as soon as you have an opening.
What's the best way to dodge in untitled boxing game without getting punished?
Time your dodge to start just before the opponent's M2 lands — this gives you a perfect dodge with extended i-frames and briefly slows them for a free punish. Avoid dodging on a timer or into M1 spam, because M1 is fast enough to catch late dodges and stamina costs are higher than blocking. Mix dodge with backdash and block so the opponent can't read which defensive tool you'll use next.
When should I use the counter instead of backdashing?
Use counter when you've read that the opponent is committing to a heavy attack — usually after they've been M1-spammed and are about to swing back, or right after a stamina break when their options are limited. Use backdash when the opponent is fishing at mid-range or throwing M1s, because backdash creates spacing and dodges raw M2 whiff punishes, while counter whiffs into M1s. Save counter for commitments and backdash for reads.
Does backdash have invincibility frames in untitled boxing game?
Backdash gives you a brief sliding window where you stay in blockstun, which means heavy attacks that are already in their recovery frames will whiff entirely. It is not a full i-frame dodge — the opponent can still chip you with a perfectly timed M1 — but it is the most reliable answer to a raw M2 because the spacing reset beats the heavy's reach. Pair backdash with a follow-up counter to convert the spacing reset into a free punish combo.